A trip into Kotlin Multiplatform Projects, Part 2
In the first part, we started discovering how powerful
Kotlin Multiplatform is applied into the mobile app world. We explored the idea behind it,
we discovered the concepts of expected and actual together with some problems that may occur.
And we took as an example a basic Bluetooth Low Energy (BLE) devices discovery library.
But we want more.
What’s next #
In the last episode, I implemented a common Bluetooth discovery module and two basic applications (Android, iOS). Then, I decided to improve the Kotlin module, allowing the platform-specific implementations to perform simple operations following the BLE protocol.
I wanted the BluetoothAdapter class to be able to connect to a BLE device, discover its Services,
and for each service its Characteristics. The goal was to implement an integration with the
Xiaomi Mi Band 2, a well-known smart bracelet and fitness tracker. The Band has been largely
hacked by some passionate users that developed third-party apps on it
(you can find some interesting projects on GitHub). It has a single button on its hardware,
which allows to display one by one the fitness data it acquired. My intention was just to listen
to the button touch events, and deliver a message to the app user every time the Band button gets tapped.
Pretty simple idea, but still challenging.
A bit of context about the BLE protocol #
Before starting, you need to know a bit about the BLE protocol that we’re going to need for this Kotlin project.
In a nutshell, most of the devices (commonly called peripherals) conform to the Generic Attribute profile (GATT), which is a generic specification for sending data between devices over Bluetooth.
A peripheral can be a Client that sends GATT commands (i.e. a smartphone), a Server which receives such commands and returns responses, or both, in particular cases. The communication between the two entities is made by operating on the server’s characteristics. On each of them, read, write and notify operations can be performed. In particular, the notify operation allows the client to receive server-initiated updates, ideally like push notifications. That was the case of my button press events. Each peripheral exposes various services, which are scoped groups of characteristics. UUIDs are used for uniquely identifying the mentioned entities.
A useful reference can be found here, if you want to know more.
Let’s start coding #
For communicating with a peripheral, at first you need to know what kind of services and characteristics it exposes. I used a well-known application called LightBlue for this. It’s pretty simple to use and you can examine all the peripheral info.
By looking also on the Github projects I mentioned before (in particular here), I discovered the Mi Band’s service and characteristic which provides notifications when the button gets tapped.
// BLE devices share a common UUID for identifying services and characteristics.
// Only 4 digits in the first UUID segment are different.
private const val SERVICE_BUTTON_PRESSED = "FEE0"
private const val CHAR_BUTTON_PRESSED = "0010"
I started by defining a common interface for connecting to a peripheral and querying its services
and characteristics. Using the expect/actual paradigm, the final definition looked like this:
expect class BluetoothAdapter {
    var listener: BluetoothAdapterListener?
    fun discoverDevices(callback: (BluetoothDevice) -> Unit)
    fun stopScan()
    fun findBondedDevices(callback: (List<BluetoothDevice>) -> Unit)
    fun connect(device: BluetoothDevice)
    fun disconnect()
    fun discoverServices()
    fun discoverCharacteristics(service: BleService)
    fun setNotificationEnabled(char: BleCharacteristic)
    fun setNotificationDisabled(char: BleCharacteristic)
}
As you can see in the methods signatures, I made some minimal abstractions on the platform-specific implementations of the peripherals, services and characteristics, to let the common codebase work independently on them.
expect class BluetoothDevice {
    val id: String
    val name: String
}
data class BleService(
    val id: String,
    val device: BluetoothDevice
)
data class Ble Characteristic(
    val id: String,
    val value: ByteArray?,
    val service: BleService
)
Notice that I marked BluetoothDevice as an expectation. This is due to the fact that
I needed to keep together the Android BluetoothDevice and the iOS CBPeripheral with the
actualization named BluetoothDevice.
// Android
actual data class BluetoothDevice(
    actual val id: String,
    actual val name: String,
    internal val androidDevice: BluetoothDevice
)

// iOS
actual data class BluetoothDevice(
    actual val id: String,
    actual val name: String,
    internal val peripheral: CBPeripheral
)
Interacting with the device #
For gaining access to services and characteristics, you need usually to follow some steps, which may vary between Android and iOS. First, you need to connect to the device (good point, man!).
Once connected, start the services discovery and then discover the characteristics you need for each service.
For easily describing in which state the process was, I defined a sealed class in the shared module,
which at the end looked like the below:
sealed class BleState {
    data class Connected(val device: BluetoothDevice): BleState()
    data class Disconnected(val device: BluetoothDevice): BleState()
    data class ServicesDiscovered(val device: BluetoothDevice, val services: List<BleService>): BleState()
    data class CharacteristicsDiscovered(val device: BluetoothDevice, val chars: List<BleCharacteristic>): BleState()
    data class CharacteristicChanged(val device: BluetoothDevice, val characteristic: BleCharacteristic): BleState()
}
The state instance is emitted by the BluetoothAdapter calling a BluetoothAdapterListener
interface method. I chose this paradigm because all the steps were asynchronous.
interface BluetoothAdapterListener {
    fun onStateChange(state: BleState)
}
Then, I implemented my BluetoothAdapter for the two platforms. The actual implementations
were pretty straight-forward. Also, I added some shared UI logic applying MVP, but I will
cover this topic in the next post (I promise you).
A note… #
As I mentioned before, the steps of discovering services and characteristics are different
between the two platforms. On iOS you need to manually start the discovery of characteristics
for the service you are interested to. For accomplishing this need, I exposed a method in my
BluetoothAdapter class. On the contrary, on Android, when you discover a service you can
immediately access to all his characteristics for free.
Also, be aware of threading. On Android, each callback method of the BluetoothGattCallback
is called from a background thread. Such callback is called when a service is discovered,
when a device is connected etc. This can cause issues if you try to play with your UI code
in your listener implementations.
Well done! Our Kotlin BLE app is on its way #
So I implemented using Kotlin multiplatform a class which allows BLE communication! When I first run it on Android I was excited…
But my enthusiasm was brought down early.
Some issues on Android #
The characteristic discovery worked great, and so did the notification enabling. But guys, I was not able to receive the button taps notifications.
It was so ironic and so weird that I fully implemented a multiplatform app, and the only failure point was the platform related code! Which was meant to be the simplest part.
Luckily, was not my fault. At least, not at all.
For connecting to the Mi Band 2, your device needs to the be authorized by the Mi Fit app. And you need to perform the GATT connection by choosing the Band from the list of the already bound peripherals.
Probably, when connected to it, Mi Fit writes to a characteristic some info that let the Band to keep alive the connection.
Something I noticed is that after short time the Mi Band drops the connection to a device that does not have the Mi Fit app installed and configured.
Some issues on iOS #
After compiling against iOS, I found another problem with the Cocoa framework that
was generated and embedded into Xcode. At first, the BleState.CharacteristicChanged class
of my Kotlin codebase had the property characteristic named char, for simplicity.
I think you can figure out the issue.
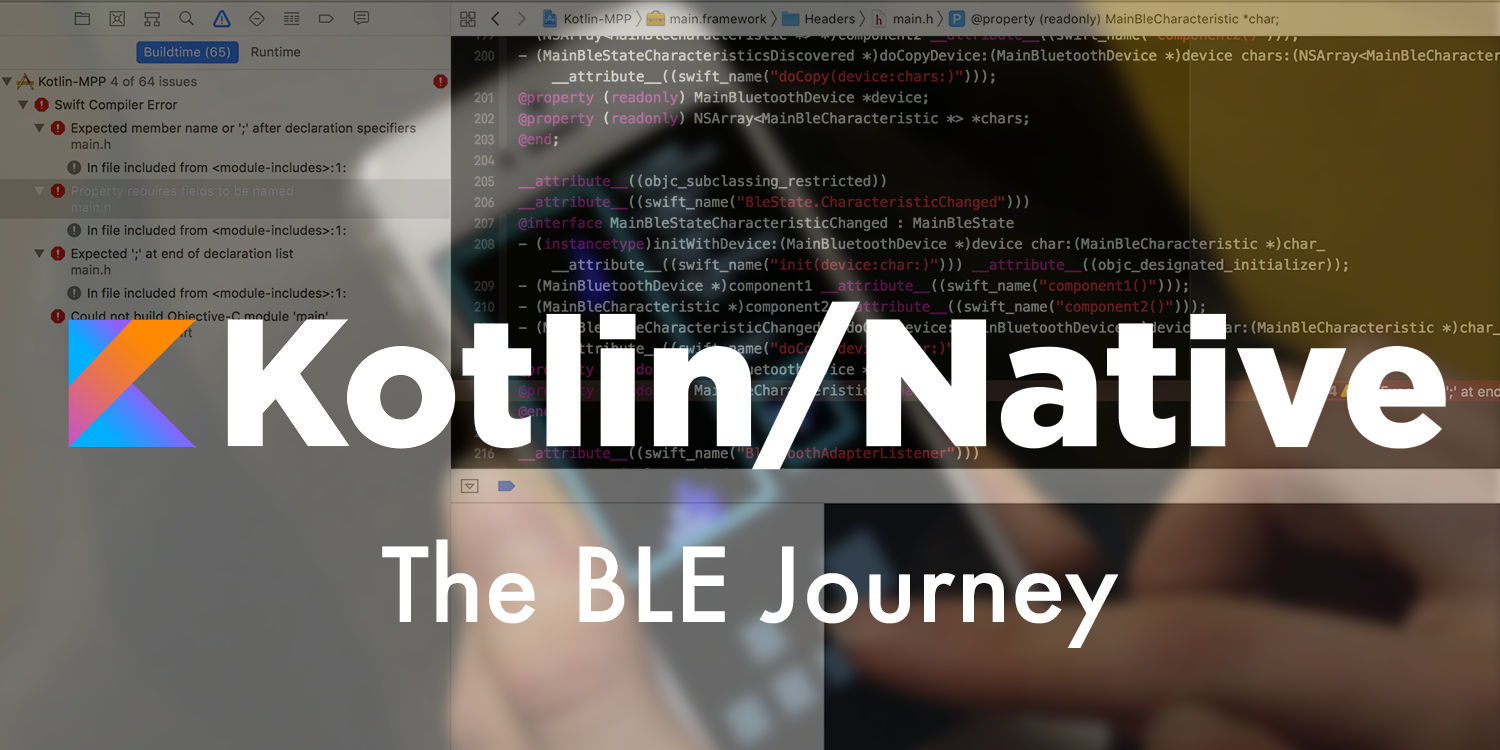
When compiling for iOS, all the code is visible from Swift by using Objective-C header
files. Spot it: char is the name of a type in Objective-C.
The issue was that the generated header file contained a syntax error in the class declaration, as you can see in the below screenshot.
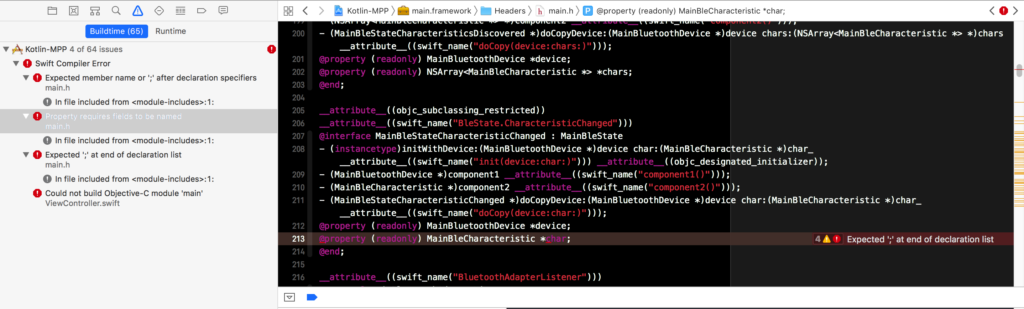
Once I refactored it, the error obviously disappeared.
So, the moral of the story is:
always use meaningful names.
Ok sorry not really the case.
And so the moral of the story is:
always use names which will not clash with reserved keywords of your target platform.
More multiplatform-ish.
My two cents #
I would like to take advantage of the problems I faced for underlining that Kotlin Multiplatform did not give me any strange problem or unexpected error by itself. All the multiplatform stuff worked as expected.
The problems I found were due to a third-party limitation/feature (in the case of the Mi Band) and to a misuse of the API (the iOS syntax error).
I’m very fascinated by this powerful technology, and I think I’ll start advocating for it’s adoption in some incoming projects in my company. Where it will fit, obviously.
Conclusion #
But the trip didn’t reach the end! We explored a Multiplatform project using Bluetooth, which is not really a common use case for our beloved mobile applications. In the next part, we will discover how to fetch some data from the network and deliver them to the user adopting a MVP pattern… all flavored with some hot Kotlin Coroutines spices.
Stay tuned, thanks for reading!
You can find all the code behind this project in this GitHub repository.
Originally posted in MOLO17 Blog